This Is Exactly What I Have Been Looking For

If you are wanting a simple bag tutorial, this is it! You can use these guides to make any size bag. I've completed two and am working on a third; all different sizes.
First, gather supplies.

You will need two coordinating fabrics; one for the outside (I used a thicker fabric for the outside) and one for the inside (I used a quilter's cotton); interfacing, a magnetic snap, and webbing for the handle.
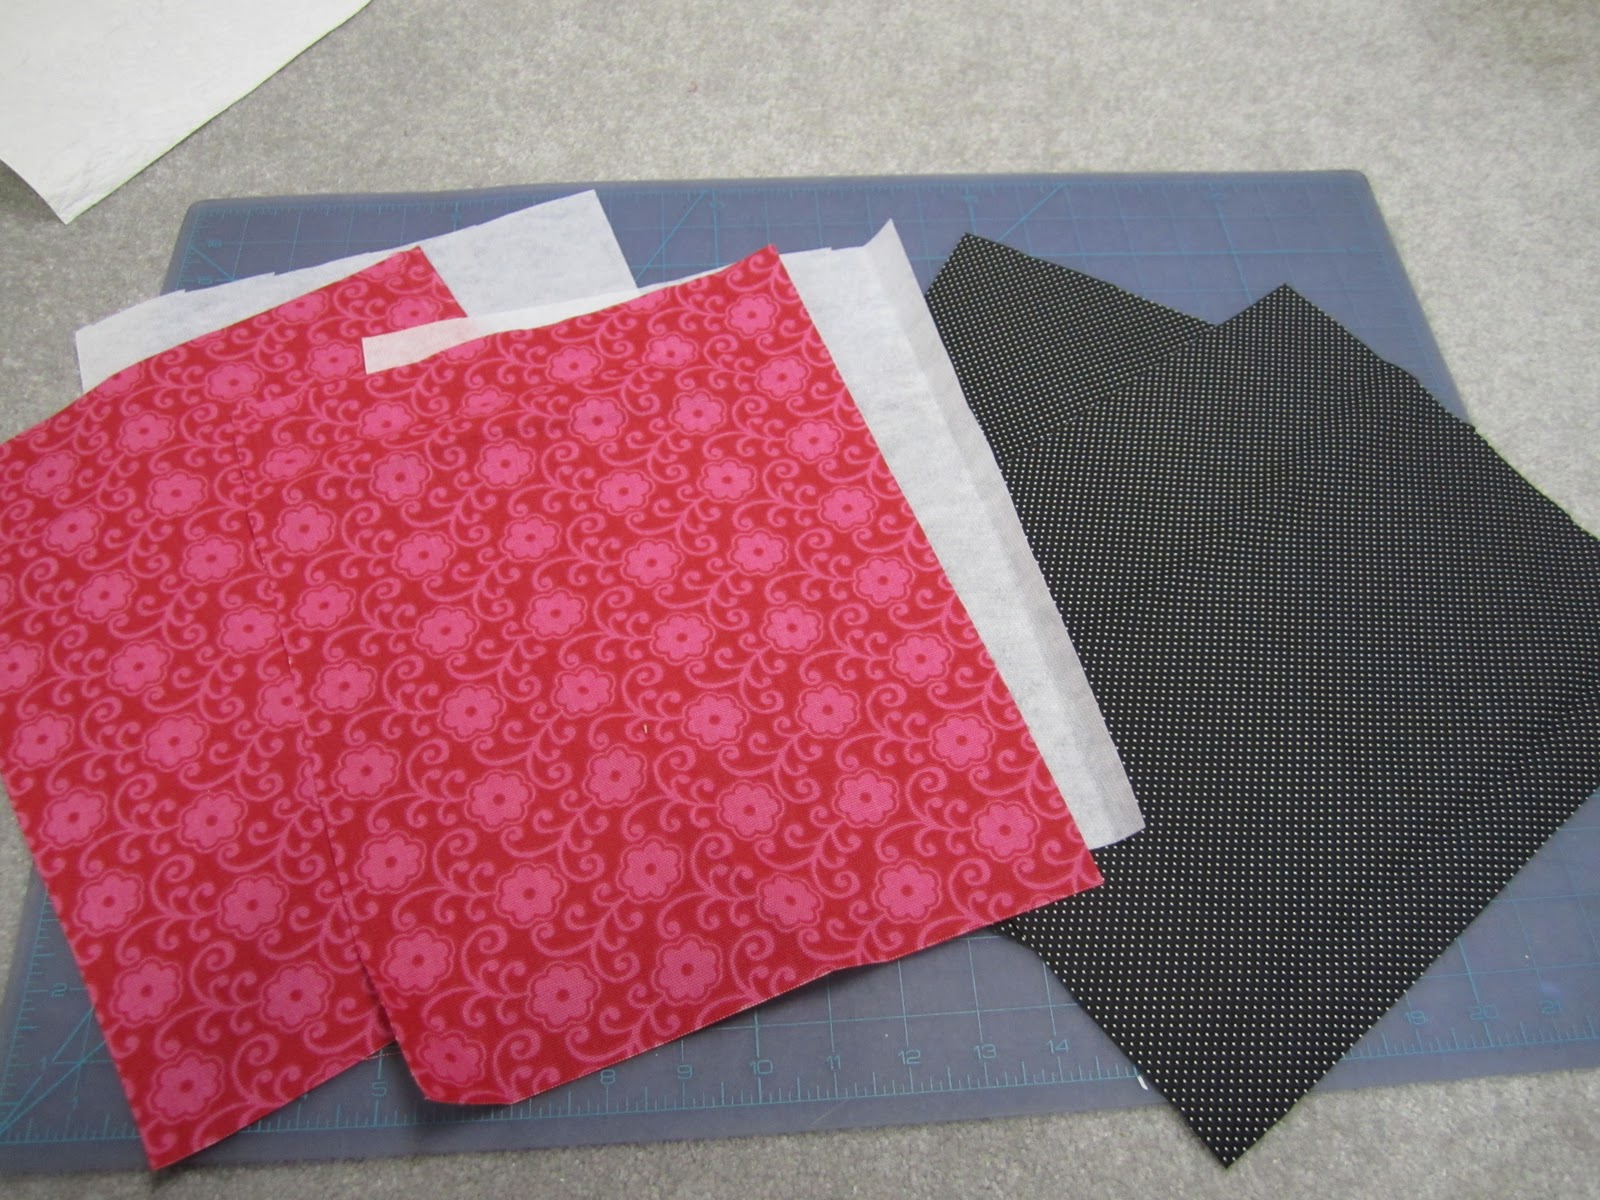
Next, cut two panels from each fabric and from the interfacing. All of these panels need to be the same size. For this particular bag, I made my panels 10" high by 12" wide.

Iron the interfacing to the back of the outside fabric panels.

Pin fabric together with the patterned sides facing each other. (Pin inside fabrics to each other; pin outside fabrics to each other.)

Sew around three sides, leaving the top open.
For the inside fabric, leave an opening in the bottom. My opening was about 4 inches. This is how you will turn the bag right-side out.

Next, make a gusseted bottom by folding the seam over to make a triangle in each corner. Line up the seams. Determine how wide you want your bottom (mine was 4 inches) and mark the edge.

Pin your corner.

Sew along the marked line. I went back over my line a couple of times to reinforce the stitch.

Trim off the excess.

You should now have two inside-out bags, looking somewhat like this.

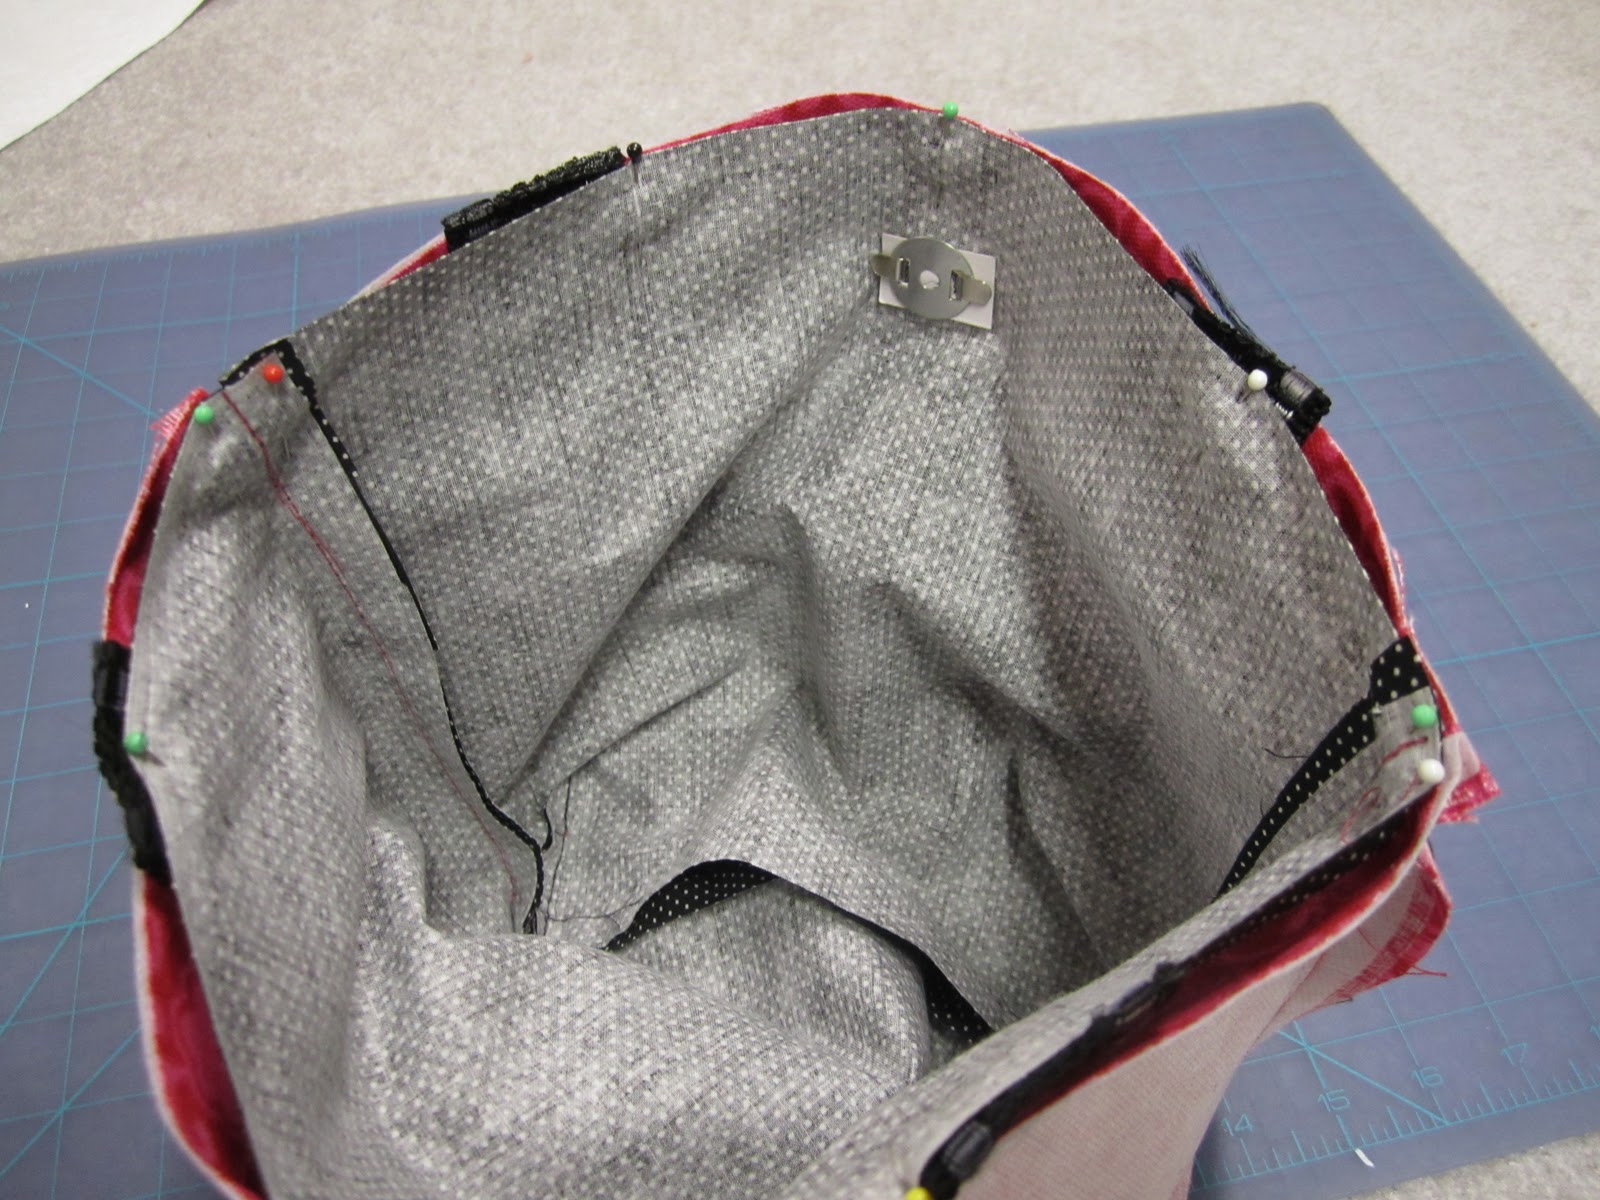
Now is the time to put the magnetic snap in.

Determine where you want the snap. Remember to leave enough space at the top because you still have to sew to bags together and finish with a stitch around the top. Press the snap into the fabric to make indentations in the fabric (this step works best on carpet). Cut slits in the fabric and push your snap in.

This is what it s like from the inside of the bag.

Cut a small rectangle of cardboard to reinforce the snap. Slide the little metal disc on and bend the flaps back. All of these instructions are included on the packaging for the snap.

Next, pin the handles to the outside fabric where you want them positioned.

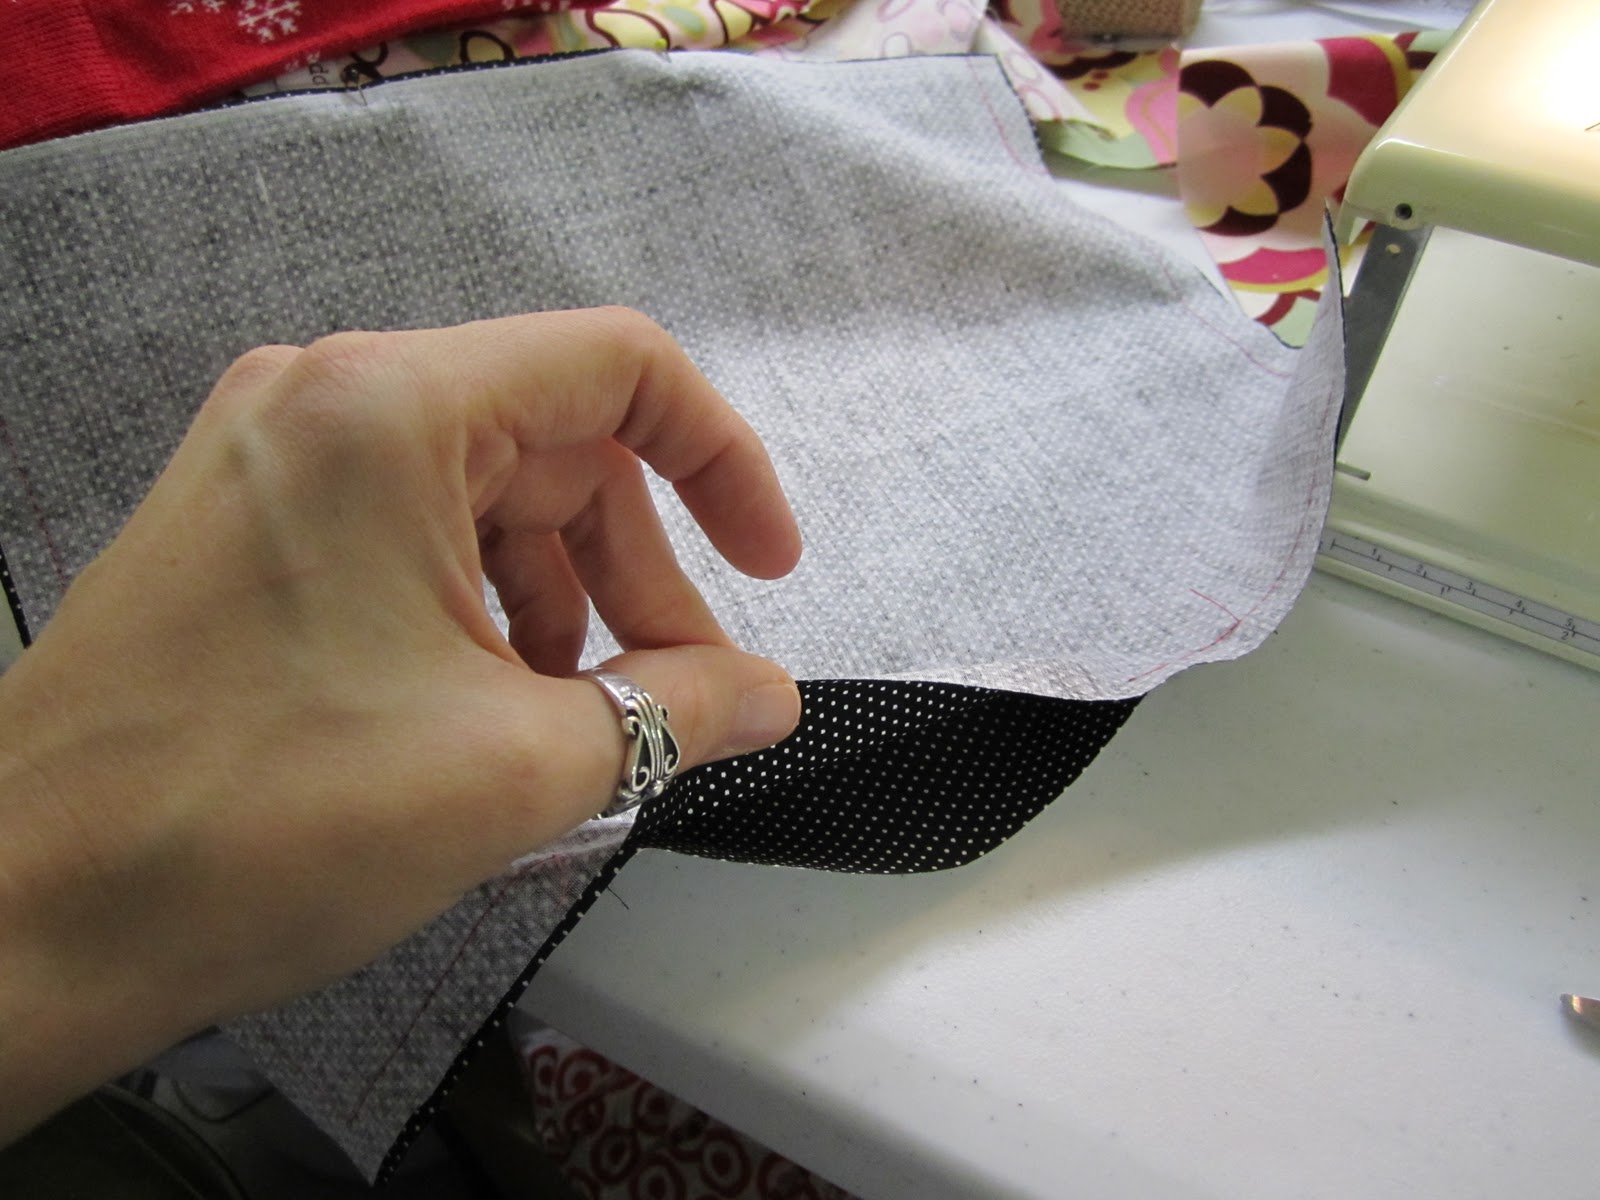
turn your liner right-side out and set down into the bag. The "good sides" should now be touching. The pictures really explain this step better than I can.
Pin the liner to the outside. Make sure your handles are tucked down and out of the way.

Sew around the entire top. I triple stitched across the handle straps to reinforce them.

Now, carefully turn your bag right-side out from the small hole in the bottom of the liner.

This is what you should have.

Hand stitch the hole. Don't worry if this doesn't look very appealing... How often do you actually see the bottom of the inside of your bag?

Set the liner down into the bag.

Pin around the top.

Stitch all the way around your bag.

There you have it!
I added a fabric rosette.

This is another bag made from the same instructions. The starting panels were 12"x20" for this one, making the finished bag about 9"x15"x4".
I'm linking this to my favorite linky parties this week!
No comments:
Post a Comment